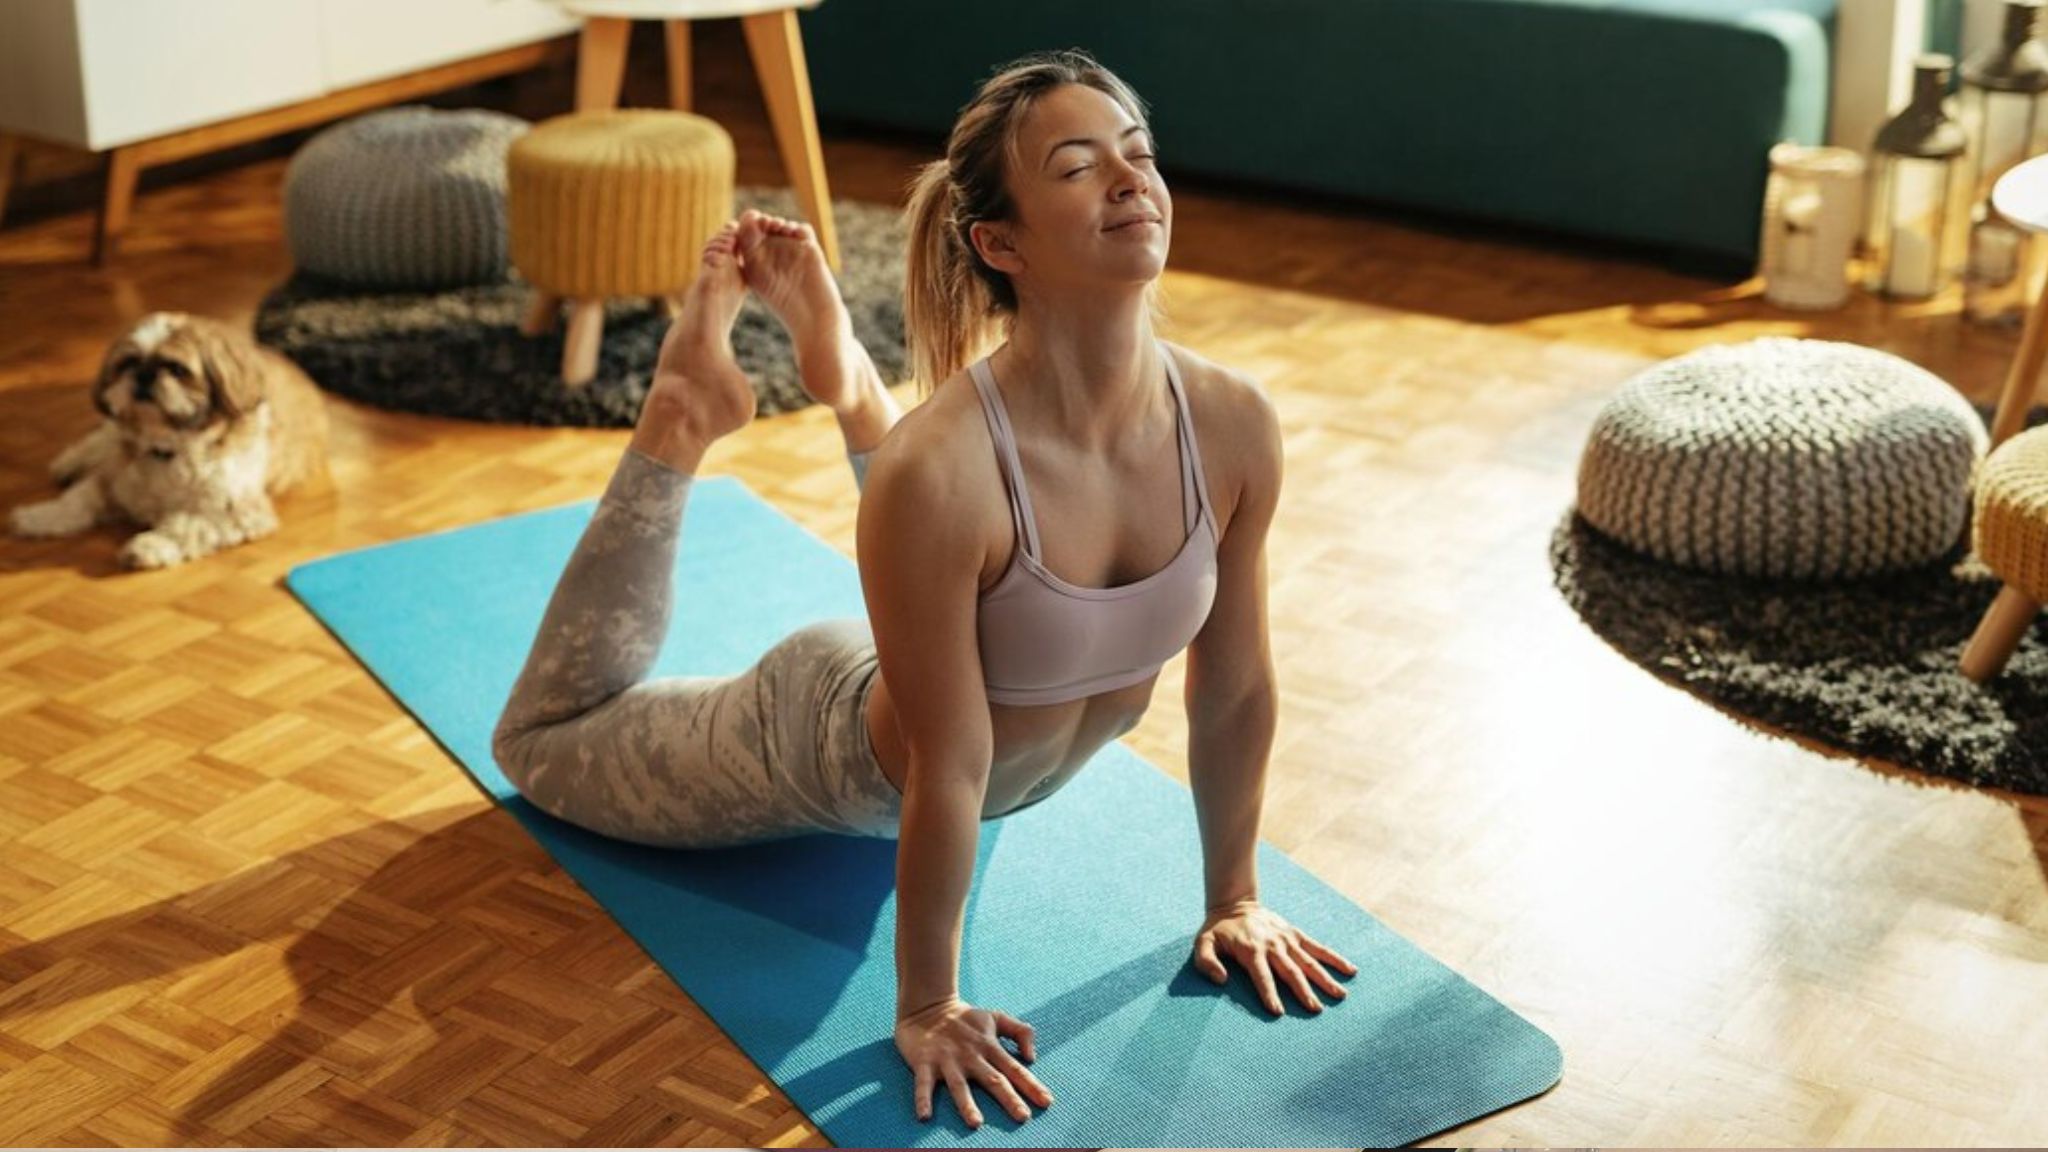
Surya Namaskar, or Sun Salutation, is one of the most powerful and accessible sequences in yoga. Practiced for centuries, it combines movement, breath control, and mindfulness. If you're a beginner exploring yoga or seeking a daily wellness routine, Surya Namaskar is the perfect place to start.
This guide will walk you through the step-by-step poses of Surya Namaskar, highlight its physical and mental benefits, and offer tips to help you begin safely and effectively.
What is Surya Namaskar?
Surya means Sun and Namaskar means Salutation in Sanskrit. Traditionally practiced at sunrise, Surya Namaskar is a series of 12 yoga poses performed in a flowing sequence. Each movement is synchronized with breath, creating a dynamic meditation in motion.
It serves as a warm-up, a full-body workout, and a spiritual practice—all in one.
Why Surya Namaskar is Great for Beginners
If you're new to yoga, Surya Namaskar offers:
- Ease of learning – only 12 steps to remember
- Full-body activation – stretches and strengthens all major muscle groups
- Breath-movement coordination – a gentle intro to yogic breathing
- No equipment needed – just a mat and an open space
- Scalability – can start with 2–3 rounds and gradually increase
Step-by-Step Guide: 12 Poses of Surya Namaskar
Here’s a breakdown of the 12 classical steps in Hatha-style Surya Namaskar, perfect for beginners.
Tip: Inhale during upward/expanding poses, and exhale during downward/folding poses.
1. Pranamasana (Prayer Pose)
- Stand at the front of your mat, feet together.
- Bring palms together in front of the chest.
- Focus your breath and set an intention.
- Breath: Inhale & exhale
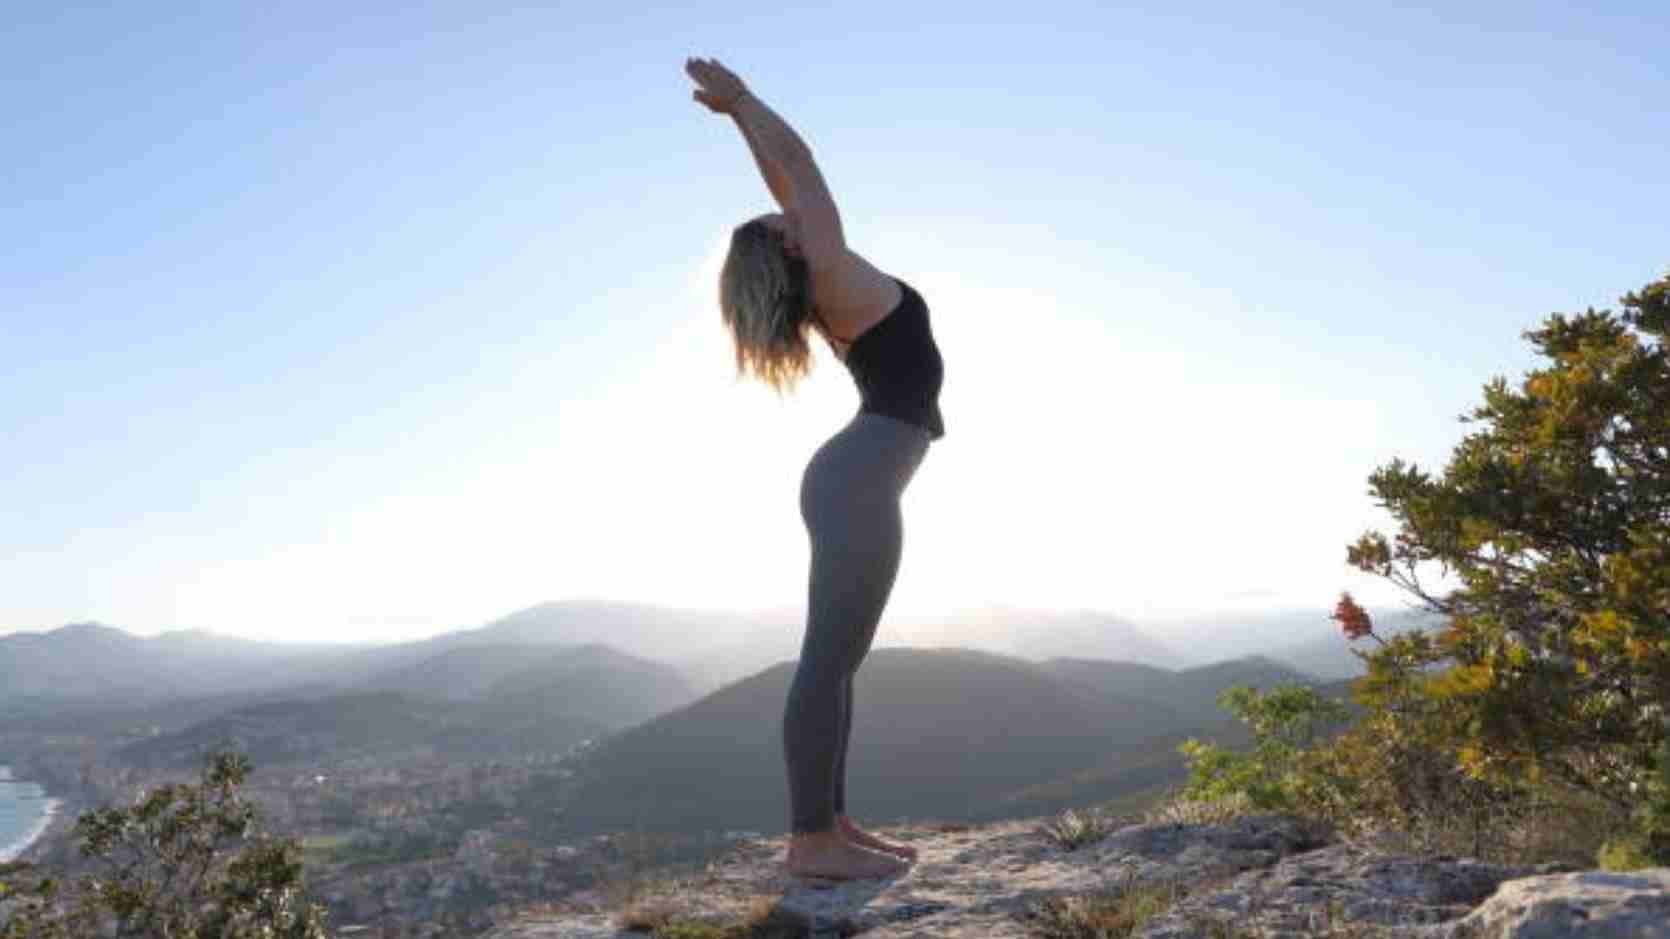
2. Hastauttanasana (Raised Arms Pose)
- Inhale and stretch your arms up and back.
- Slight arch in the back, keep the biceps close to the ears.
- Engage your core and avoid collapsing the lower back.
3. Padahastasana (Standing Forward Bend)
- Exhale and bend forward from the hips.
- Try to touch your hands to the floor, knees slightly bent if needed.
- Relax your neck.
4. Ashwa Sanchalanasana (Equestrian Pose)
- Inhale, step the right leg back.
- Drop the knee, lift the chest, and look up.
- Keep fingertips aligned with the front foot.
5. Dandasana (Plank Pose)
- Exhale, step the left leg back into a plank.
- Keep your body in a straight line.
- Engage core and glutes.
6. Ashtanga Namaskara (Eight-Limbed Pose)
- Lower knees, chest, and chin to the floor.
- Hips stay slightly raised.
- Eight parts of the body touch the mat (toes, knees, chest, chin, hands).
7. Bhujangasana (Cobra Pose)
- Inhale and slide forward, lifting the chest.
- Elbows close to the body, shoulders relaxed.
- Gaze upward without straining the neck.
8. Adho Mukha Svanasana (Downward Dog Pose)
- Exhale, lift the hips, and form an inverted V.
- Heels towards the floor, spine long.
- Press palms into the mat.
9. Ashwa Sanchalanasana (Repeat with Left Leg)
- Inhale, step the left leg forward between your hands.
- Drop the right knee, and open your chest.
- This mirrors Step 4.
10. Padahastasana (Repeat)
- Exhale, bring the right foot forward.
- Fold into the forward bend again.
- Relax your back and neck.
11. Hastauttanasana (Repeat)
- Inhale, sweep your arms up, and arch slightly back.
- Keep stretching upwards.
12. Pranamasana (Repeat)
- Exhale and return hands to the heart center.
- Feel the flow of energy through your body.
This completes one round. You can start with 2–4 rounds and gradually increase to 12 rounds daily.
Benefits of Surya Namaskar
Surya Namaskar is more than just a warm-up. Here are some powerful benefits, especially for beginners:
1. Improves Flexibility
Each pose stretches specific muscle groups, improving flexibility in the spine, hamstrings, hips, and shoulders.
2. Boosts Strength and Stamina
Holding plank and downward dog builds core and upper body strength. Regular practice increases energy and endurance.
3. Enhances Digestion and Circulation
The sequence massages abdominal organs, improving digestion and circulation throughout the body.
4. Reduces Stress and Anxiety
Coordinating breath with movement promotes mental clarity, emotional balance, and reduces cortisol levels.
5. Aids Weight Management
Practicing multiple rounds daily burns calories and stimulates metabolism—helping with weight loss and toning.
6. Balances Hormones
By activating the endocrine system, especially the thyroid and adrenal glands, Surya Namaskar helps regulate hormonal health.
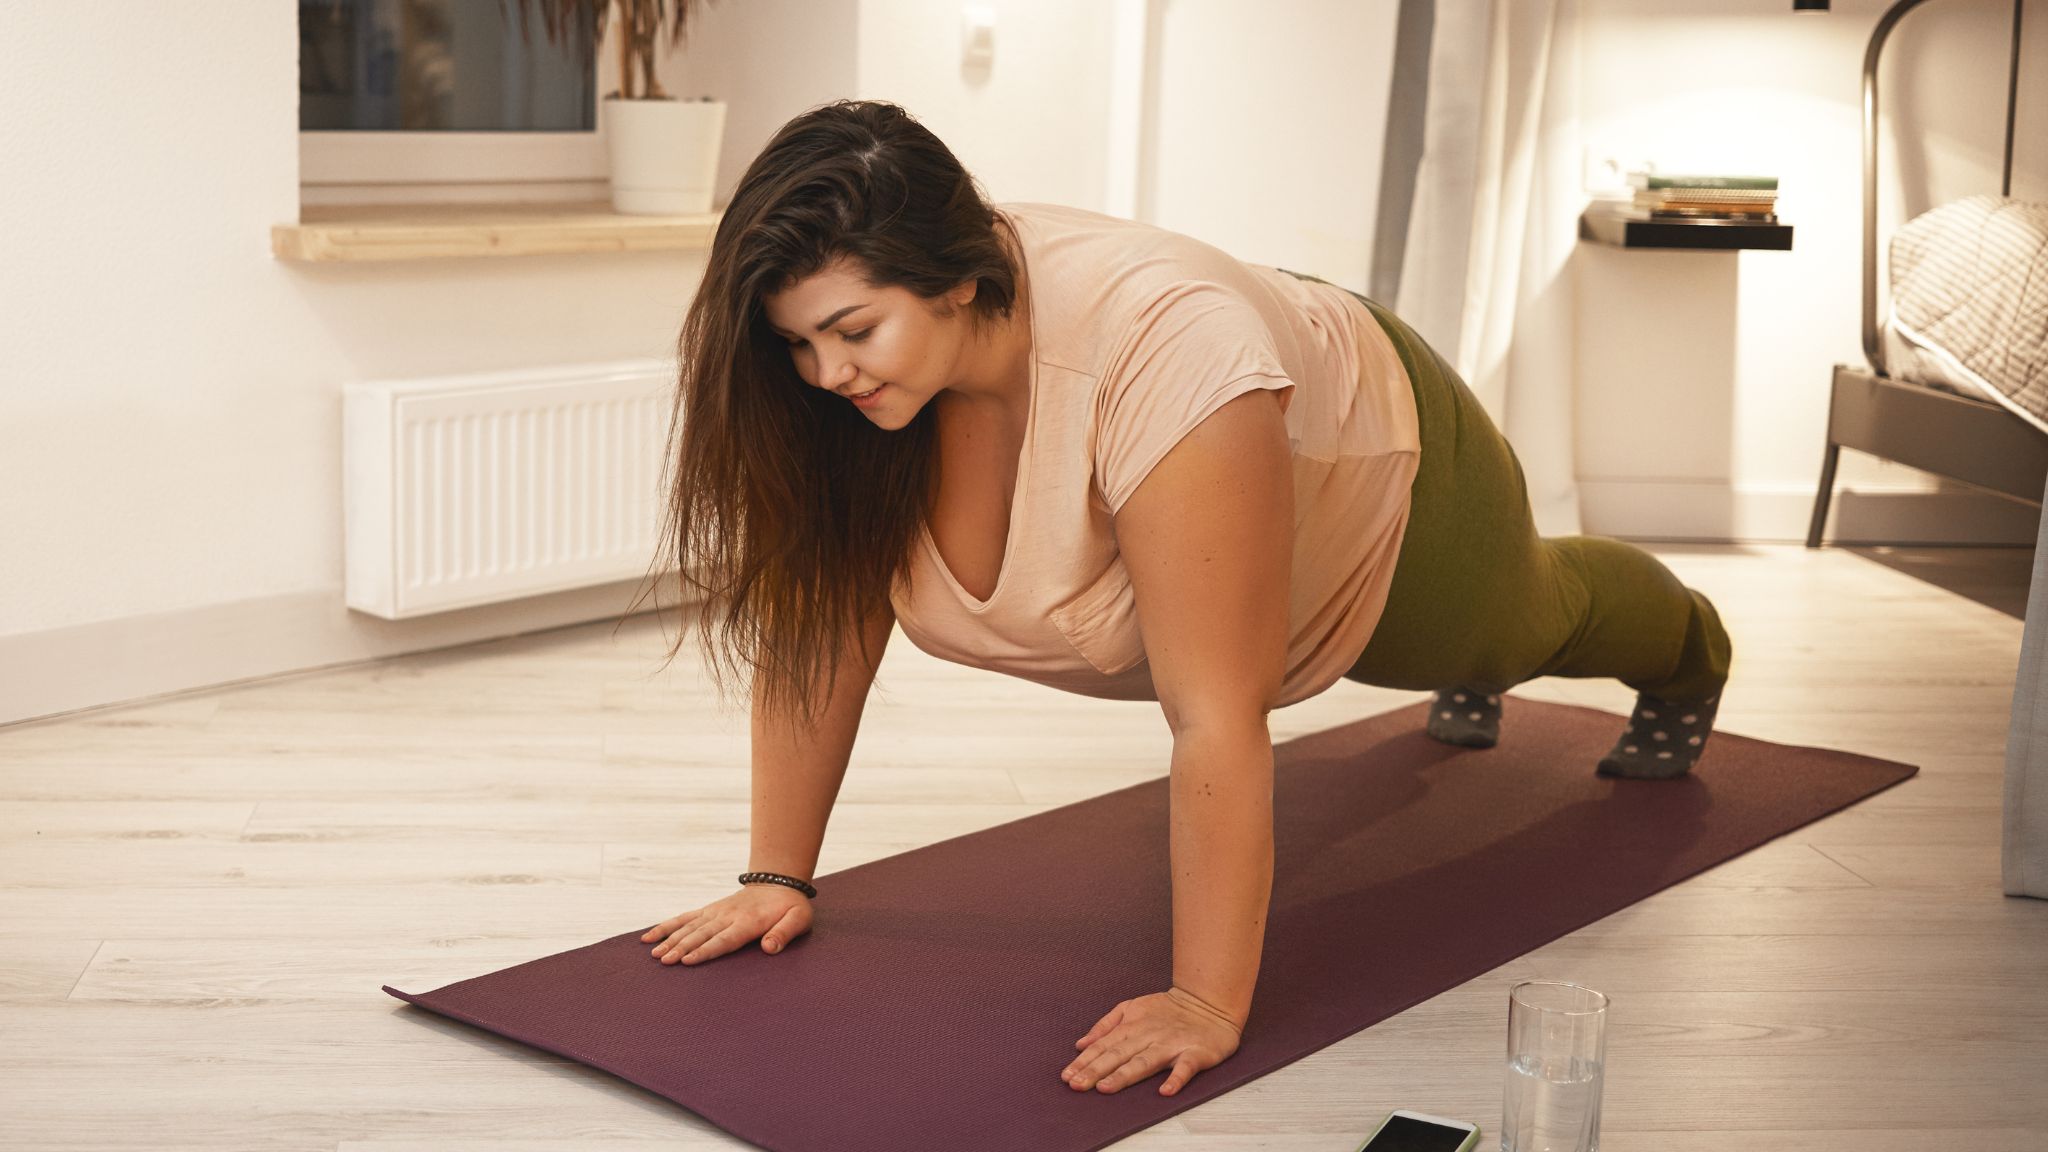
Beginner Tips for Practicing Safely
- Start slow: Begin with 2–3 rounds and gradually build up.
- Focus on breath: Breathing right is as important as the pose.
- Warm up if needed: Especially if your body feels stiff.
- Practice on an empty stomach: The ideal time is early morning.
- Use props or modify: Bend knees or use blocks if needed.
- Stay consistent: Even 10 minutes a day can make a difference.
Surya Namaskar is a timeless, holistic practice that benefits your body, mind, and spirit. Whether you're aiming to get fit, reduce stress, or start your day with purpose, it's an ideal daily ritual.
As a beginner, don’t worry about perfection—focus on progress, breath, and how you feel. Over time, you'll experience increased energy, flexibility, and mental calm.
So roll out your mat and greet the sun.